If you’ve been following along with our other posts, you know that breakfast is one of our favorite meals in our house. You can make your breakfast sweet or savory, tart or creamy, or even a something in the middle! English muffins are one of my absolute favorite foods to use for mixing and matching delicious flavor combinations. You can keep them simple with butter and honey or jam. Or you can up their complexity by making them into a breakfast sandwich. Regardless of whether you lean to sweet or savory for your breakfast foods, these gluten-free English muffins will be a staple in your breakfast repertoire.
History of English muffins

Muffins have been sold in England and the United States for longer than the entire history of the United States as an independent country. That said, the English muffins we know today only date back to the 19th century. They were officially created in 1874 by Samuel Bath Thomas as a snack bread. It became so successful that not only did Thomas inspire various brands to create their own English muffins, but the bread company he created still sells breads to this day. We have always loved English muffins here at the Glover Cottage Grove. But like with so many other breads, my wheat allergy has made it hard to consistently have English muffins in my life. That is until we decided to create our own gluten-free English muffin recipe.
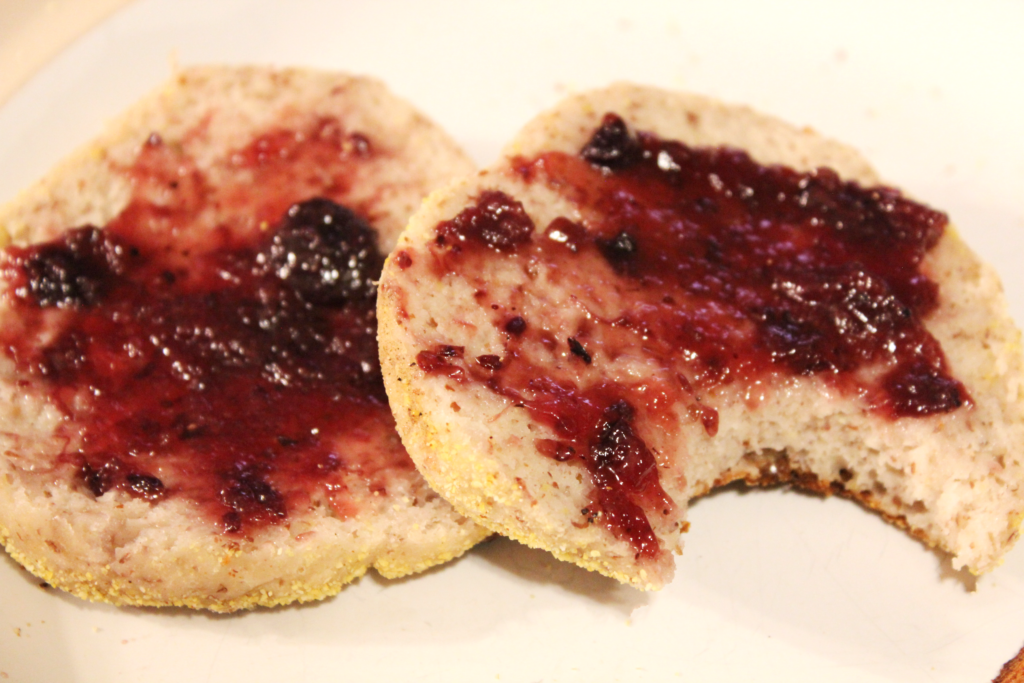
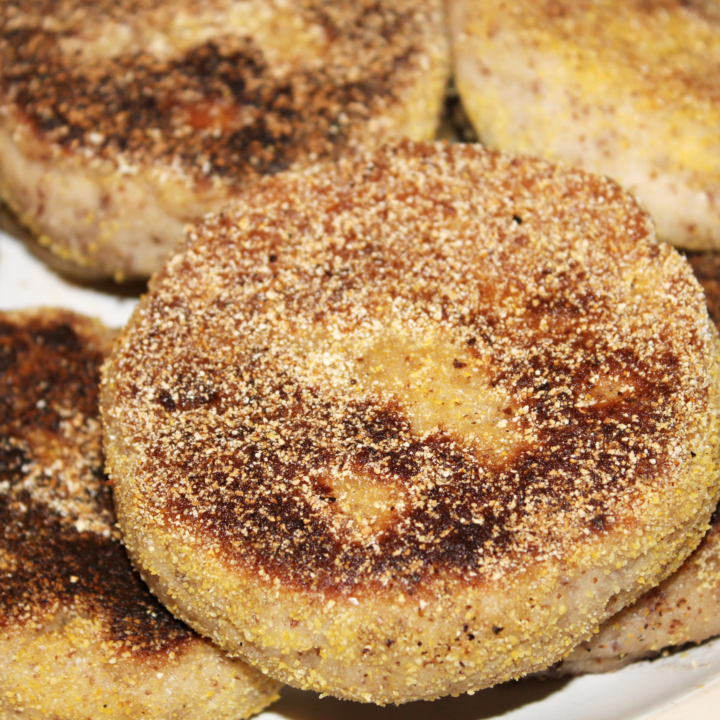
The gluten-free English muffins from this recipe have a delightful crunch on the outside and a soft inside, perfectly mimicking the traditional English muffin that you might know and love. Something we also love about these muffins is they are incredibly easy to make! The dough only takes a couple of minutes to whip up, and once it’s done proofing, cooking couldn’t be easier. Just pan-fry each side until both are golden brown!
Alterations for the gluten-free English muffins

As with most of the recipes we share with you, our gluten-free English muffin recipe is customizable to your taste. You can adjust the flours based on your preferred brand so long as the total amount of flour stays mostly the same. For example, if you don’t have almond flour or ground flaxseed, you can replace them with an equal amount of general all-purpose gluten-free flour. Just be aware that this might change the amount of liquid needed to keep the dough consistency the same.
If you want a softer exterior than ours, all you have to do is to pan fry the muffins on a lower heat and keep flipping them at 2 minutes until you get the color you want on the outside. However, we like the exterior to have a slight crunch to it to create a perfect balance between soft and cripsy.
How to store homemade English muffins
These gluten-free English muffins are a breeze to store. They can be stored in the fridge or freezer (We prefer the freezer). If you choose to refrigerate them, place them in an airtight container or vacuum sealed resealable bag. The muffins should last for about a week using this method. If you choose to freeze them, put them in a freezer safe resealable bag in single layers. Just be sure to cut the muffins apart before freezing them. Otherwise you will have to toast them, cut them, then toast them again to crisp up the center. That’s too much toasting for an easy breakfast you can take on the go. The English muffins should last about 4–6 months in the freezer (if you don’t eat them all before hand).

Gluten-Free English Muffins
Ingredients
- 2 1/2 cups gluten-free all-purpose flour
- 3/4 cups almond flour
- 1/4 cups ground flaxseed
- 1 tsp salt
- 1/2 tsp granulated sugar
- 2 cups buttermilk
- 1/4 cup butter (melted)
- 1/4 cup corn meal
- 2 tsp instant yeast OR 50 g sourdough starter
Instructions
- Combine all dry ingredients in a large mixing bowl, excluding your yeast.
- Create a well in your dry ingredients and add in your yeast to the well.
- Melt 1/4 cup of butter. Then, add the butter and 1/4 cup of buttermilk to the dry mixture.
- Mix until you get a doughy consistency. It should be slightly tacky to the touch, but workable.
- Take your dough out to knead on a floured surface and knead until your dough for a couple of minutes.
- Mold your dough into a ball, and cover with a damp tea towel and let it raise for at least 2 hours.
- After the dough ball has finished rising, knead it for another few minutes or until the ball is smooth and with as few cracks as possible.
- Roll the dough out with a rolling pin until it is flat and about 1/2 inch to 3/4 inch thick.
- From there, cut out the English muffins from the sheet of dough. We typically use a wide-mouth canning jar lid to get the perfect size and shape every time.
- Reform and roll out the dough to fill in the holes until you can no longer make any cut any muffins from the dough.
- Place the cornmeal in a mixing bowl on the side, then coat both sides of each muffin with the cornmeal.
- Heat butter in a cast iron skillet on medium low to medium heat.
- Once the butter has melted, place the muffins in the pan. Cook each side for 2 minutes or until golden brown
- Let cool, then serve with desired toppings and enjoy!
Notes
Be sure to let the English muffins cool completely before slicing into them to allow the crumb to set.

What’s your favorite english muffin toppings? Comment below and let us know!

Leave a Reply
You must be logged in to post a comment.