
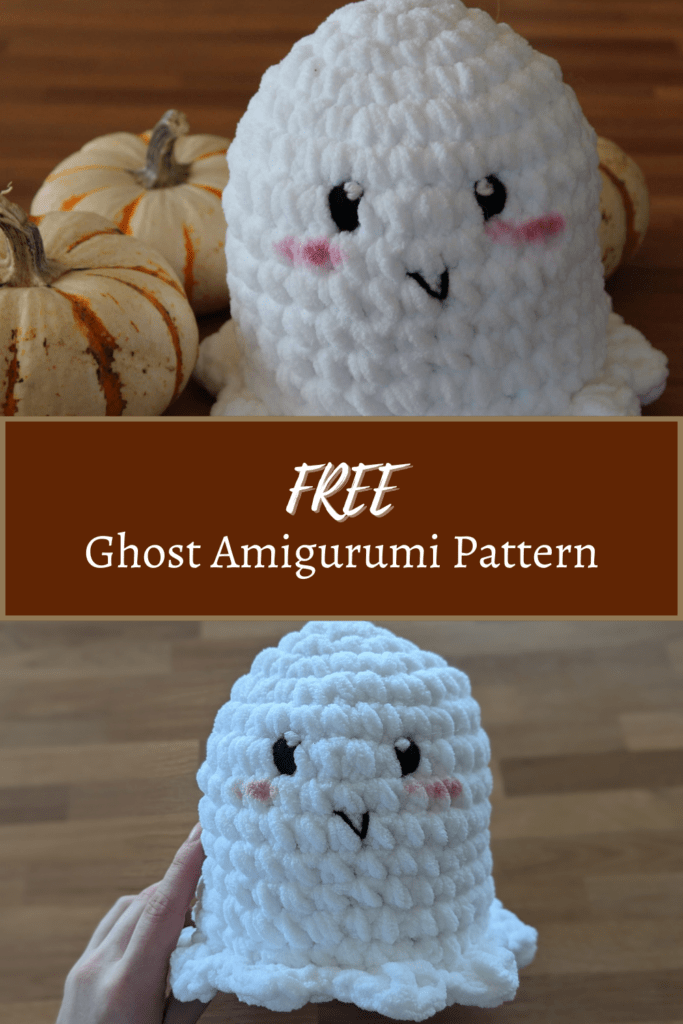
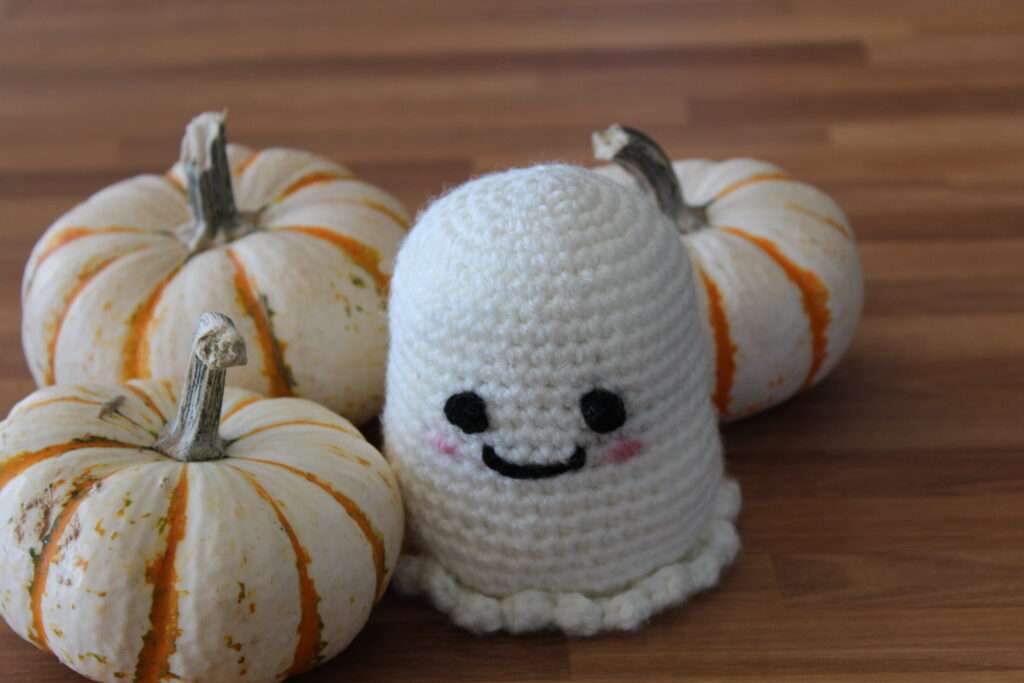
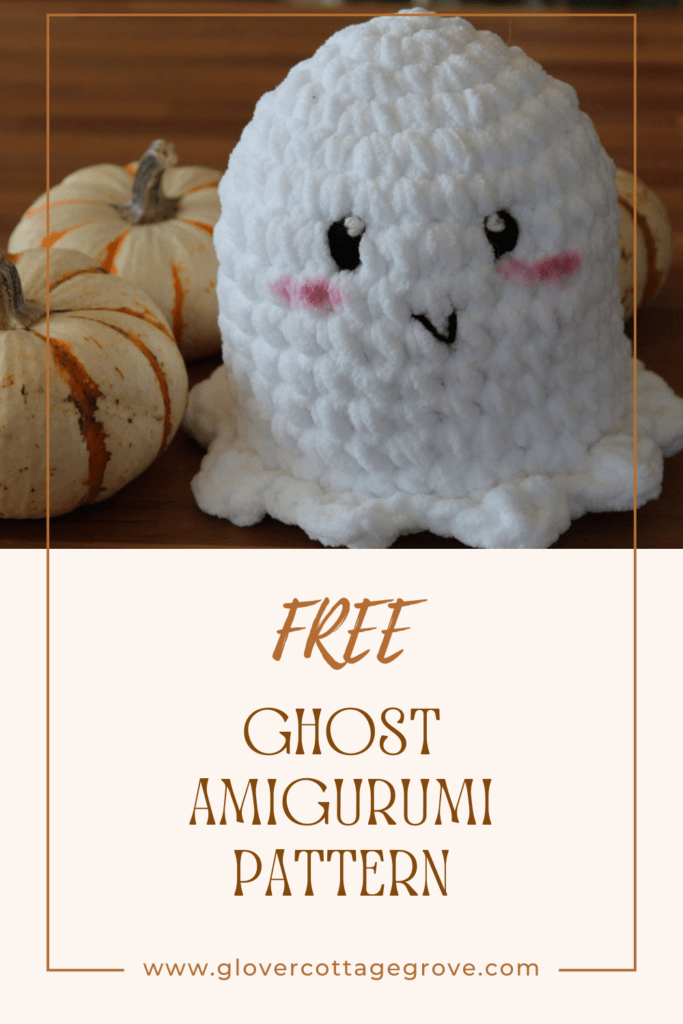
Take our amigurumi ghost pattern to create this super easy and adorable ghost plush for the perfect addition to your fall decorations!
Spooky season is right around the corner, meaning it’s the perfect time to pick up some cozy crafts as the days get chillier! As someone obsessed with various fiber arts, crochet has quickly became one of my favorite pastimes while searching for new ways to express my creativity. If you are just starting out with crochet, your first project can seem daunting. I remember how frustrating it can be to learn how to keep the tension and shape on your hook. But not to worry! As a first project, our amigurumi ghost pattern couldn’t be easier! And once finished, it is the perfect Halloween decoration or a great gift for anyone as obsessed with spooky season as we—or you—are.
Adjusting the Ghost Pattern
What if you want a different sized ghost? That’s easy! These ghosts are adorable whether as small keychains or as huge stuffed animals. There are a few different alterations you can make to the amigurumi ghost pattern depending on what size you want. An easy way to change the size of your ghost is through the yarn weight. Chunkier yarns will naturally make bigger ghosts, while thinner ones make teenier ones. If you feel comfortable enough with the pattern, you can also adjust the ghost’s size by increasing or decreasing the number of stitches in your circle. Just be sure to keep the ratios the same throughout the project.
Supplies
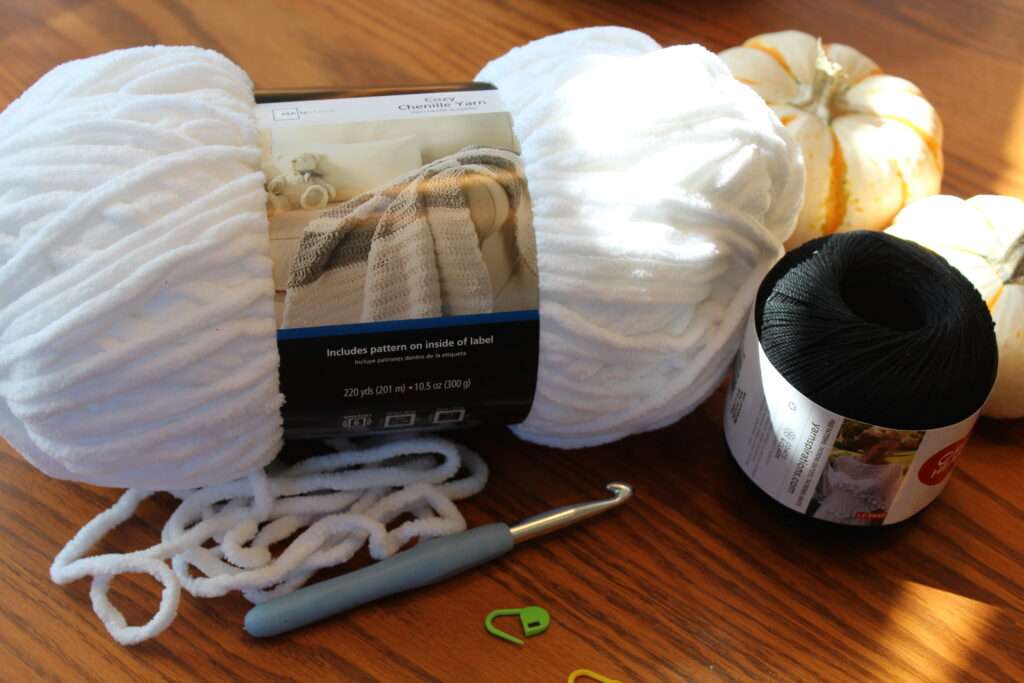
- White chenille yarn
- Black yarn
- Stuffing (or leftover yarn scraps)
- 8mm crochet hook
- Stitch marker
Stitch Types
- MR: Magic ring
- St: Sitch(es)
- SC: Single crochet
- SC inc: SC twice in one stitch
- HDC: Half double crochet
- DC: Double crochet
- Dec: Decrease using the invisible decrease method
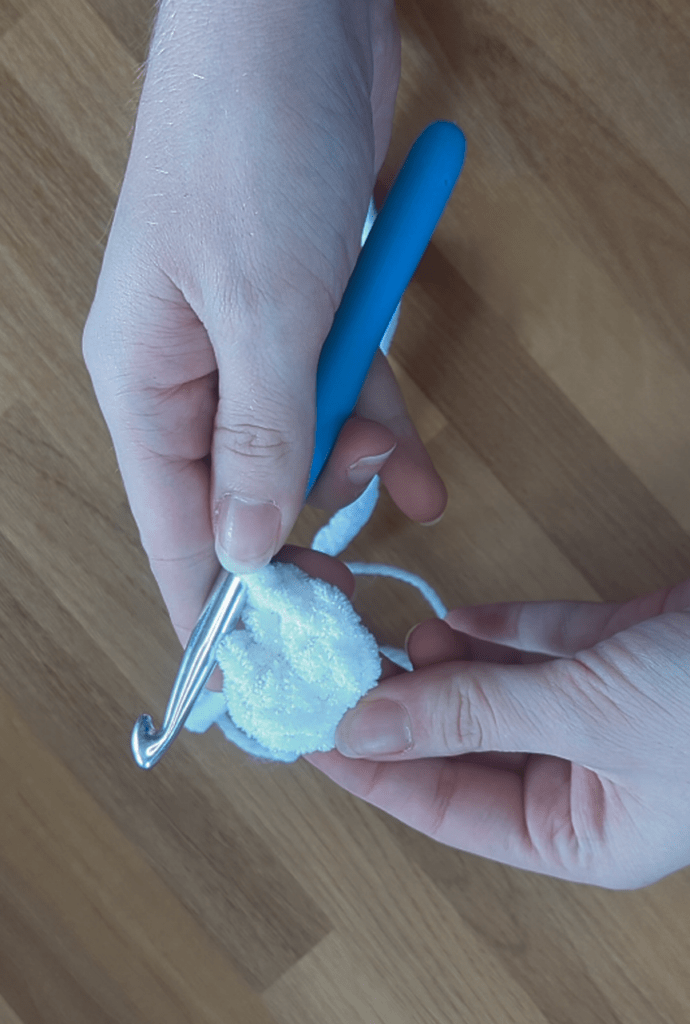
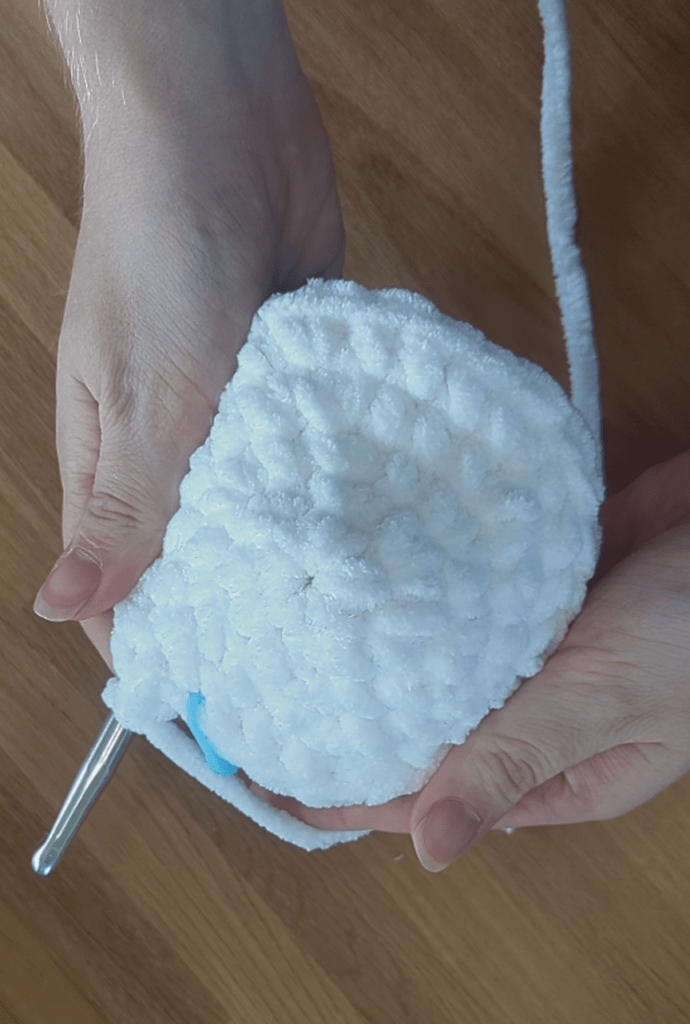
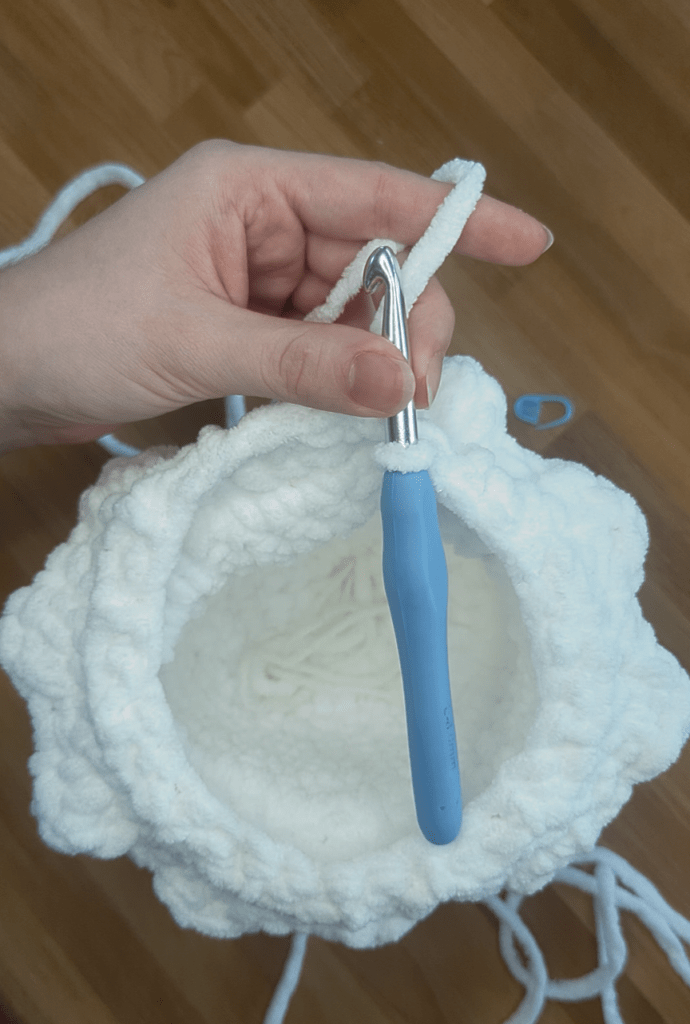
Instructions
When starting each row, mark the first SC of each round with a stitch marker.
Round 1:
MR 6 SC (do not slip stitch into the first SC)
Round 2:
SC inc into each St (12 St)
Round 3:
(SC, SC inc) 6 times (18 St)
Round 4:
(SC 2, SC inc) 6 times (24 St)
Round 5:
(SC 3, SC inc) 6 times (30 St)
Round 6:
(SC 4, SC inc) 6 times (36 St)
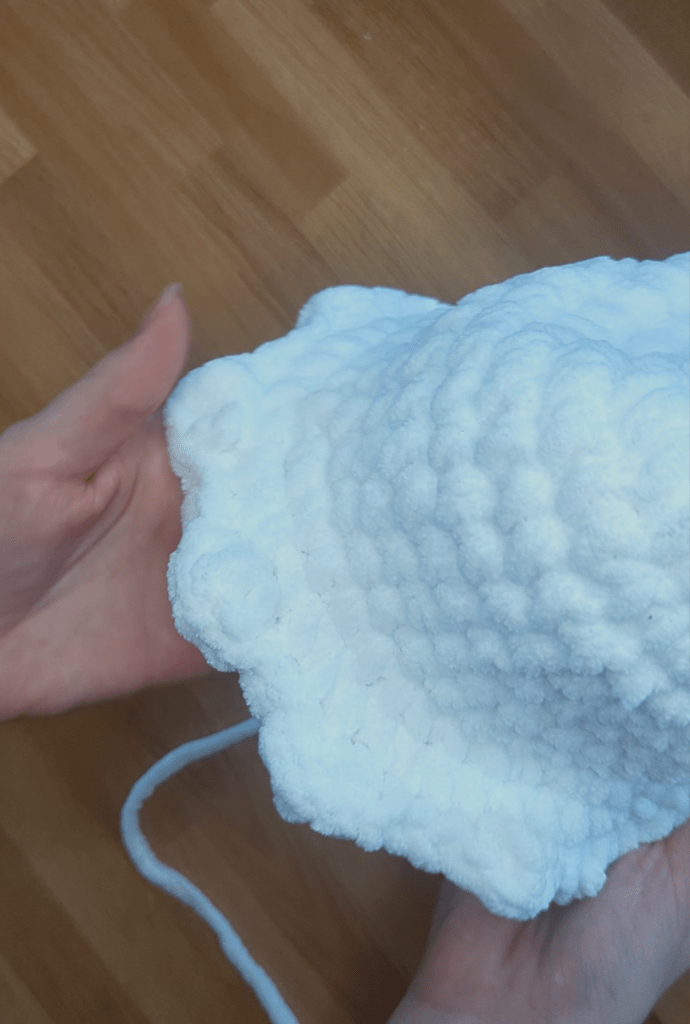
Round 7 – 16:
SC 36 (for 10 rounds)
Round 17:
(SC 3, SC in) 6 times (42 St)
Round 18:
(SC 4, SC in) 6 times (48 St)
Round 19:
(SC 5, SC inc) 6 times (54 St) Mark first SC of this row with a stitch marker and leave it.
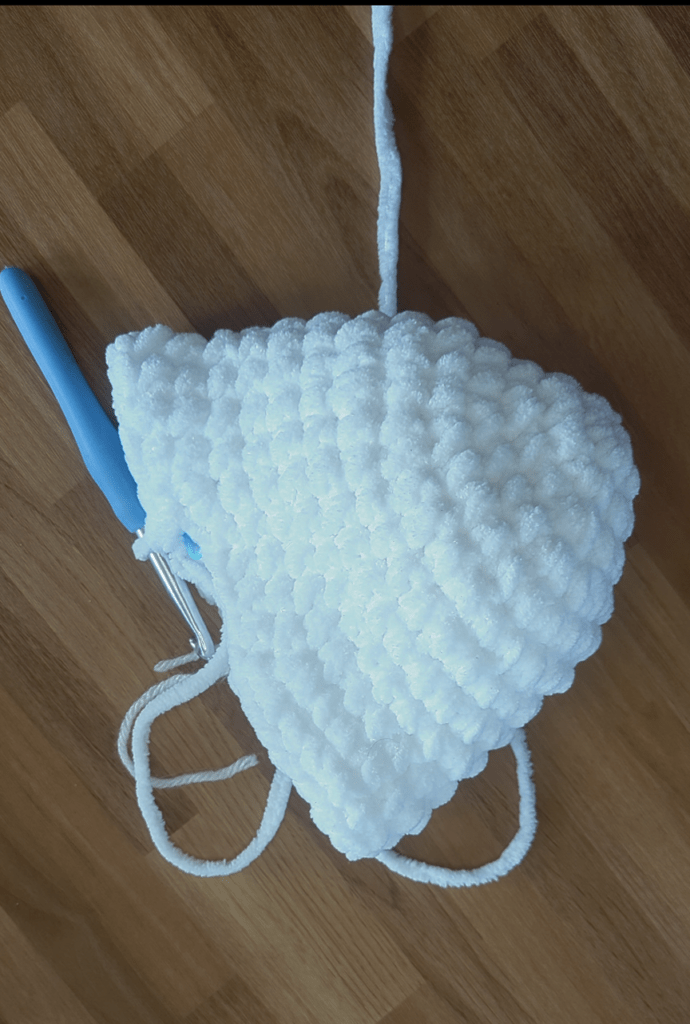
Round 20:
([HDC, DC, HDC] into one stitch, slip stitch 3), repeat 15 times (15 ruffles)
Round 21
SC in the SC St from round 19 (54 stitches)
Round 22 – 25
(SC, Dec) 6 times (for 2 rounds). Stuff and repeat one more time.

Round 26
Dec around each St. Then, using a tapestry needle, thread through the front loop of each St. Pull tightly until the bottom is closed completely.
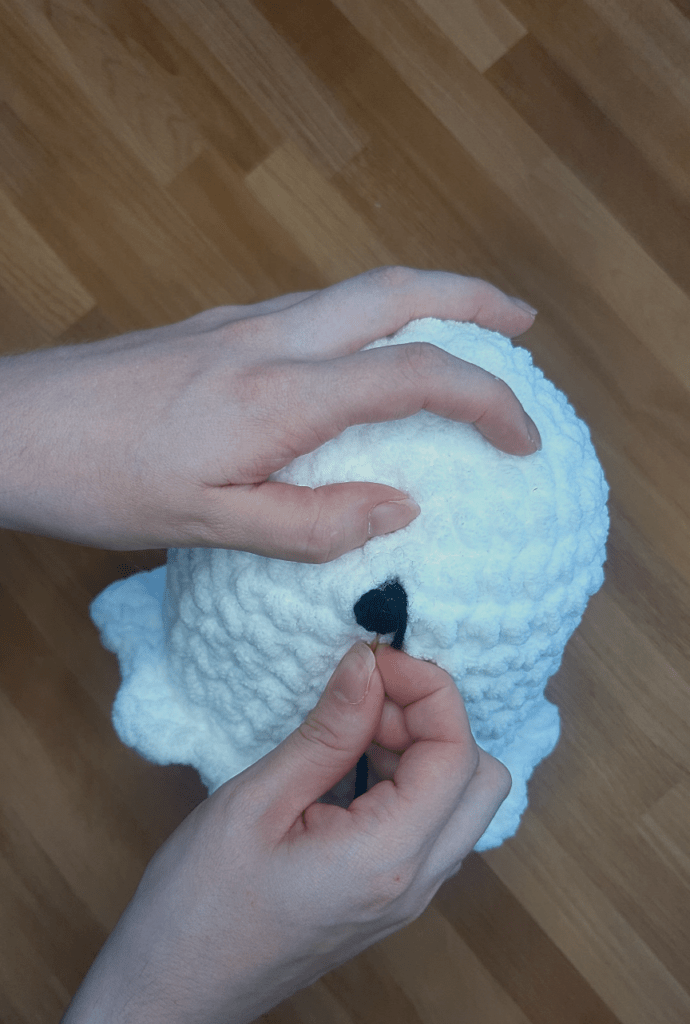
Embroidering eyes:
Thread a tapestry needle with black yarn and insert it into your plushie. Bring the needle through a gap in a stitch between rows 5 and 6. Then, thread the needle below the stitch. Keep threading the black yarn in the same spots until the ghost’s eye is the size you want. Tie off and thread through to secure the yarn. Repeat with the other eye about 4 stitches over.
If you want to add white dots to the ghost’s eyes, thread some white yarn through a tapestry needle and insert it into your plushie. Bring the needle through the black eye around where you want the dot to be. Tie a French knot and bring the yarn back through. Tie the yarn off and weave it back through your plushie to secure.
Embroidering the mouth:
Thread a tapestry needle with black yarn and bring it through your plushie and out of a stitch gap around row 7 and 8 in the center of the eyes. Make a “V” with your stitches. Tie the yarn off and thread through your plushie.
If you want to add blush to your ghost, just grab some powdered makeup blush and a Q-Tip. Rub the Q-Tip on your yarn where you want the blush to be.
You’re all done! Now you have a cute amigurumi plushie that can be done in less than an hour and makes a perfect decoration for this coming spooky season. Share your ghost below!
Leave a Reply
You must be logged in to post a comment.